Configure Off Cluster Pravega Clients
Configure off-cluster Pravega clients on Dell EMC Streaming Data Platform
Read Post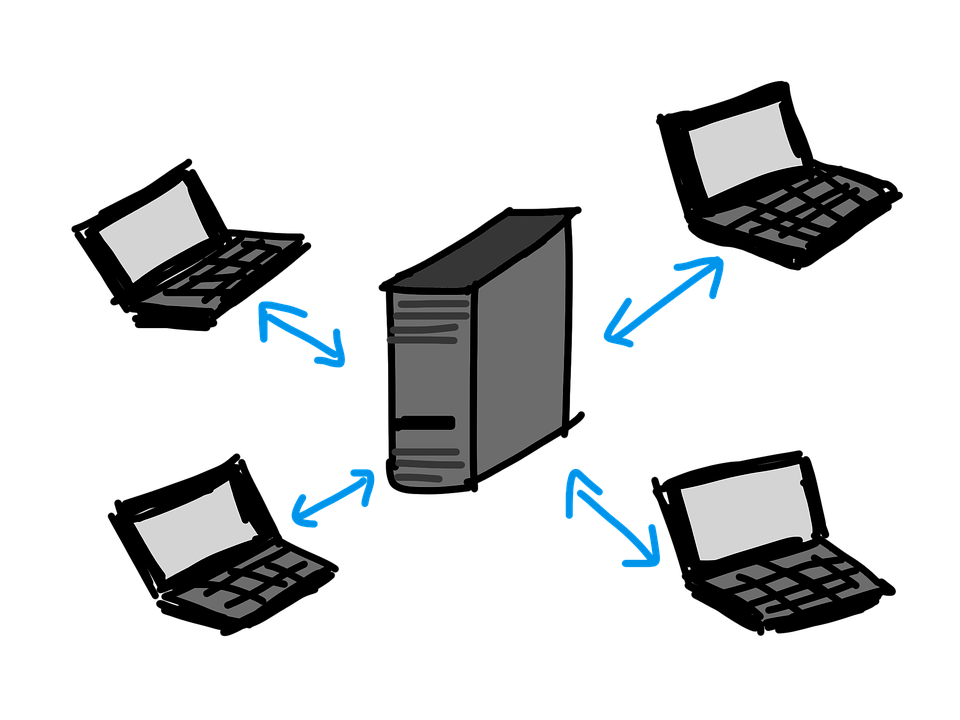
This is a general guide for configuring Pravega applications/clients to connect to SDP when the client is running off-cluster.
Purpose
Pravega client could be configured in two ways: on-cluster and off-cluster. When a Pravega client is running on-cluster in Kubernetes, authentication is injected automatically by SDP operators. However, when a Pravega client runs off-cluster, in order to connect to an SDP stream, Keycloak authentication must be configured correctly.
Before ingesting data into a Pravega stream on Dell EMC Streaming Data Platform, you need to configure off-cluster Pravega clients for security verification. The purpose of this guide is to demonstrate configuring keycloak authentication, retrieving Pravega controller external IP, and setting environment variables.
Instructions
1. Configure keycloak authentication
After setting up the project namespace on SDP, configure Keycloak authentication by getting the keycloak.json file. Replace following <pravega scope> with the project name you set in the SDP UI and run the command in your terminal:
kubectl get secret <pravega scope>-pravega -n <pravega scope> -o jsonpath="{.data.keycloak\.json}" |base64 -d >  ${HOME}/keycloak.json

chmod go-rw ${HOME}/keycloak.json
The output should look like the following:
{
  "realm": "nautilus",
  "auth-server-url": "https://keycloak.p-test.nautilus-lab-wachusett.com/auth",
  "ssl-required": "external",
  "bearer-only": false,
  "public-client": false,
  "resource": "<pravega scope>-pravega",
  "confidential-port": 0,
  "credentials": {
    "secret": "c72c45f8-76b0-4ca2-99cf-1f1a03704c4f"
  }
}
2. Retrieve Pravega controller external IP
In order to access the Pravega cluster from Dell EMC Streaming Data Platform, you need to connect with Pravega controller. Use kubectl to get the EXTERNAL-IP of the nautilus-pravega-controller service.
kubectl get service nautilus-pravega-controller -n nautilus-pravega

NAME                          TYPE           CLUSTER-IP       EXTERNAL-IP     PORT(S)                          AGE
nautilus-pravega-controller   LoadBalancer   10.100.200.243   11.111.11.111   10080:32217/TCP,9090:30808/TCP   6d5h
3. Set environment variables and run the applications
In order to run an ingest application, you need to set the environment variables for Pravega and Keycloak. There are two ways to do it: using an integrated development environment such as IntelliJ or using the terminal in Linux or Unix based systems.
You can find an example Pravega Stream Ingest application from this post.
Option A: Using an integrated development environment
This can be done by setting the IntelliJ run configurations. (Go to run -> Edit Configurations -> Select your application -> Environment Variables -> click Browse icon. Fill the details mentioned below screen. Add all below program environment variables.) Make sure to change the PRAVEGA_CONTROLLER to the appropriate EXTERNAL-IP address. Assign PRAVEGA_SCOPE and PRAVEGA_STREAM to the same value as the settings when you created the Flink project and application on SDP.
pravega_client_auth_method=Bearer
pravega_client_auth_loadDynamic=true
KEYCLOAK_SERVICE_ACCOUNT_FILE=${HOME}/keycloak.json
PRAVEGA_CONTROLLER=tcp://<pravega controller external-ip>:9090
PRAVEGA_SCOPE=<pravega scope>
PRAVEGA_STREAM=<target stream name>
Then you can save the configuration and run a Pravega stream ingest application.
Option B: Using the terminal in Linux or Unix based systems
Open a terminal window and set the environment variables by following commands. Make sure to change the PRAVEGA_CONTROLLER to the appropriate EXTERNAL-IP address. Also set PRAVEGA_SCOPE and PRAVEGA_STREAM to match settings when you created the Flink project and application on SDP.
export pravega_client_auth_method=Bearer \
export pravega_client_auth_loadDynamic=true \
export KEYCLOAK_SERVICE_ACCOUNT_FILE=${HOME}/keycloak.json \
export PRAVEGA_CONTROLLER=tcp://<pravega controller external-ip>:9090 \
export PRAVEGA_SCOPE=<pravega scope> \
export PRAVEGA_STREAM=<target stream name>
Then you can use gradle or other tools to build a .jar file and run from the terminal by following command (Replace jar name and mainClassName to proper value):
java -cp <jar name>.jar <mainClassName>
In addition, if you have a reader running on Dell EMC SDP at the same time, please make sure to pass the same value for Pravega scope and stream parameters as discussed above. More details are showing in the workshop-samples README.
